|
For Rebound 4.9.3, diodes are already soldered. Info on that installation for older PCBs is here. DIY and older PCBs may require installation of a controller/adapter combo. More info on that process here. Fully-assembled PCBs are tested before leaving Montsinger HQ, but it's good to know how to do a tweezer test. Fully-assmbled PCBs come with USB port pre-soldered. The installation process for Rebound DIY is here. You are currently viewing the usb page. Click here to return to the main guide. |
. . . 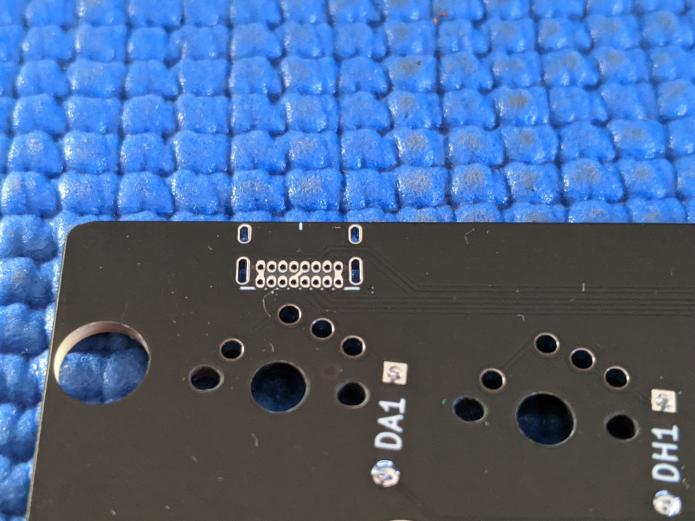 I'll be adding a USB port to this position, which only functions when using an Elite-C V4 or Mainframe 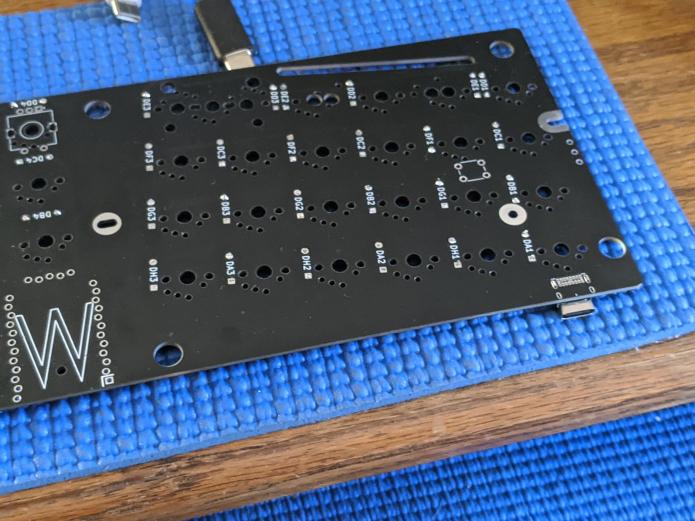 USB port hangs under the PCB. 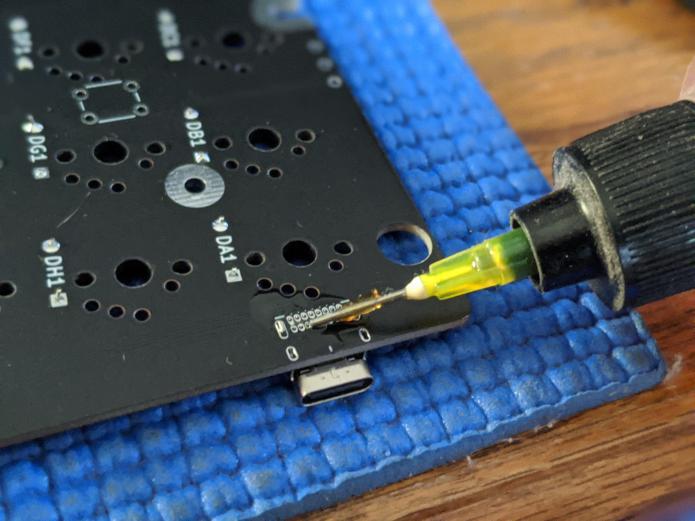 Apply flux to the port area if you've got it.  Add a little solder to the tip of your iron. This ended up being all the solder I used for the whole port. 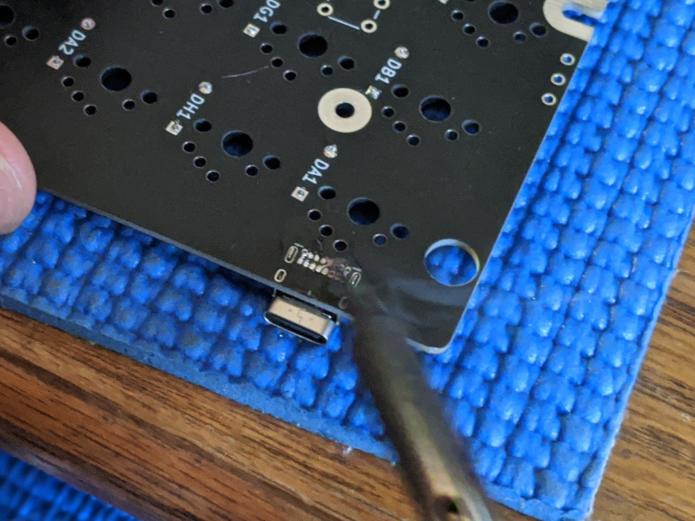 Drag the iron from left to right across all the pins on the USB port.  It's not perfect, but it works. 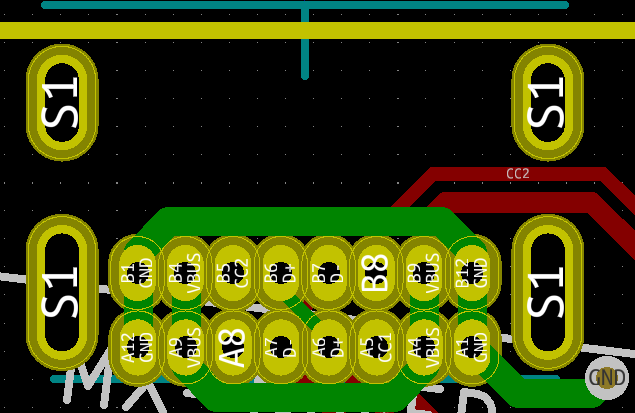 The green lines give a clearer look at what pads are allowed to be touching each other. If you're having difficulty, just keep adding little bits of solder and flux. . . . Return to the main guide |