|
For Rebound 4.9.3, diodes are already soldered. Info on that installation for older PCBs is here. DIY and older PCBs may require installation of a controller/adapter combo. More info on that process here. Fully-assembled PCBs are tested before leaving Montsinger HQ, but it's good to know how to do a tweezer test. Fully-assmbled PCBs come with USB port pre-soldered. The installation process for Rebound DIY is here. You are currently viewing the controller page. Click here to return to the main guide. |
. . . 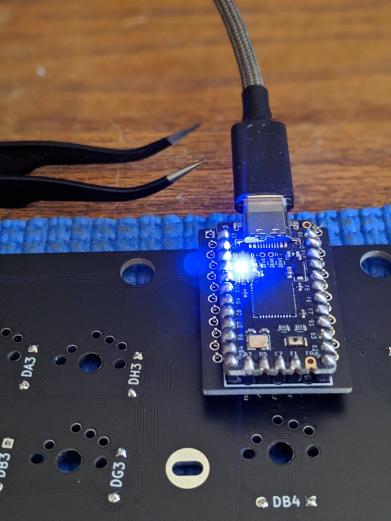 I'm actually going to be using a Mainframe for this build, but since I have an Elite-C handy, I'll slide it into the Rebound Pro Micro Adapter and onto the PCB for testing. 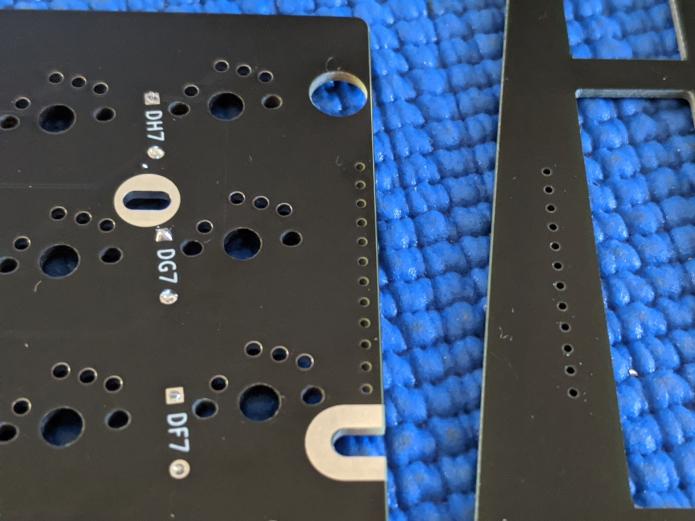 If you haven't already added legs to your microcontroller, use these straight holes on the edges of the PCB and plate to align your header pins. 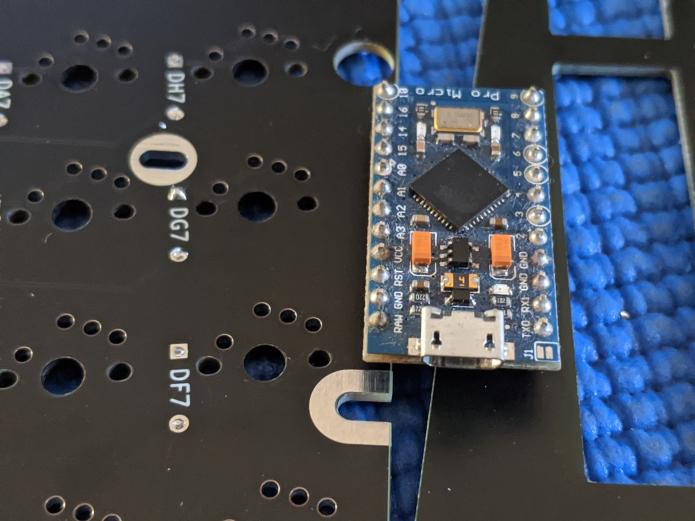 Solder the header pins to your microcontroller and trim them flush. 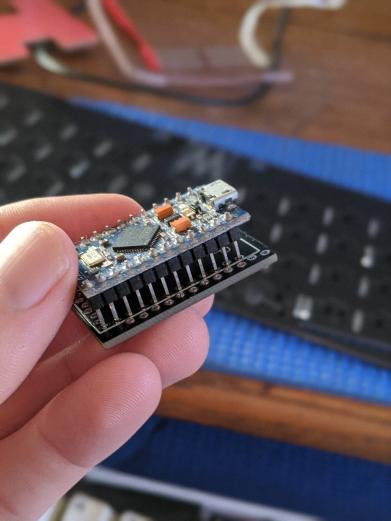 Insert MCU into the adapter. . . . Return to the main guide |