|
For Rebound 4.9.3, diodes are already soldered. Info on that installation for older PCBs is here. DIY and older PCBs may require installation of a controller/adapter combo. More info on that process here. Fully-assembled PCBs are tested before leaving Montsinger HQ, but it's good to know how to do a tweezer test. Fully-assmbled PCBs come with USB port pre-soldered. The installation process for Rebound DIY is here. |
. . . 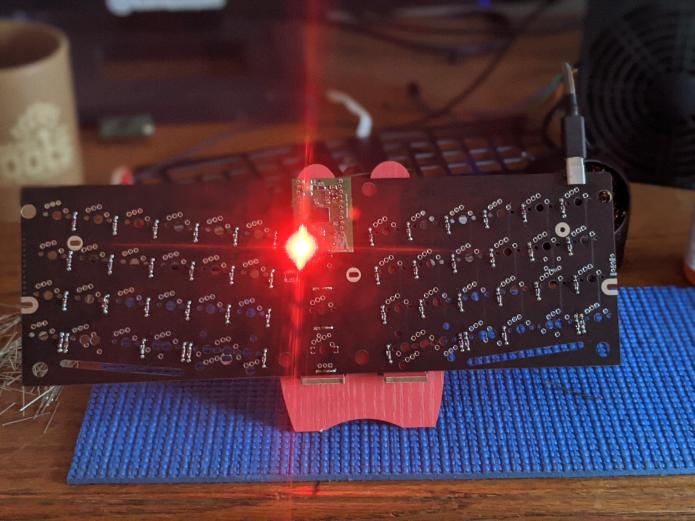 Mainframe should light up when plugged in.  Insert rotary encoder,  and solder. 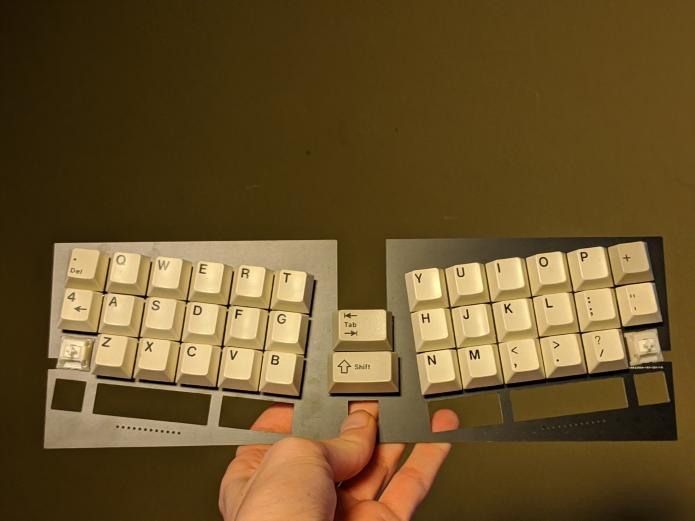 Add switches to the plate. I already had keycaps attached to my Bobas from a previous hotswap build. I'm also gonna save the bottom row for last since there are more options down there. 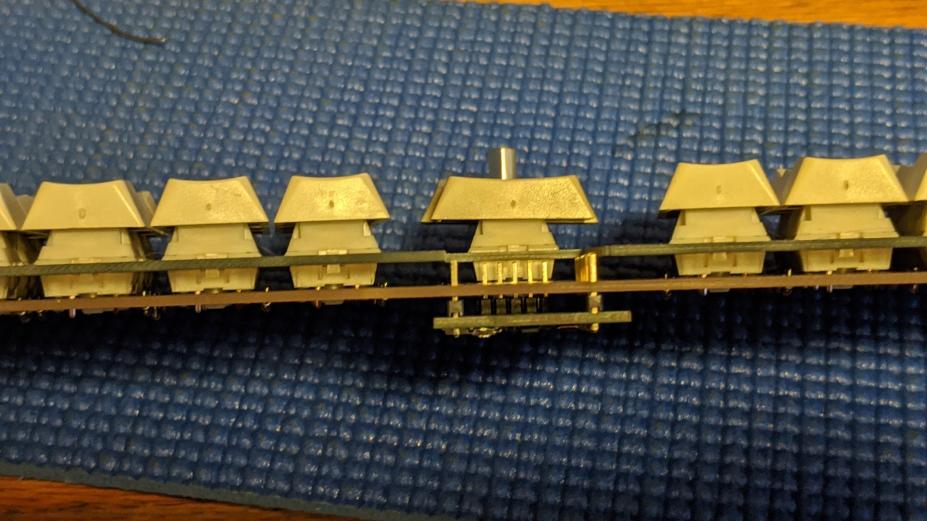 Combine the switchplate and PCB. Ensure all switches are flush.  Solder switches. . . . Back to top |