|
For Rebound 4.9.3, diodes are already soldered. Info on that installation for older PCBs is here. DIY and older PCBs may require installation of a controller/adapter combo. More info on that process here. Fully-assembled PCBs are tested before leaving Montsinger HQ, but it's good to know how to do a tweezer test. Fully-assmbled PCBs come with USB port pre-soldered. The installation process for Rebound DIY is here. You are currently viewing the diodes page. Click here to return to the main guide. |
. . . 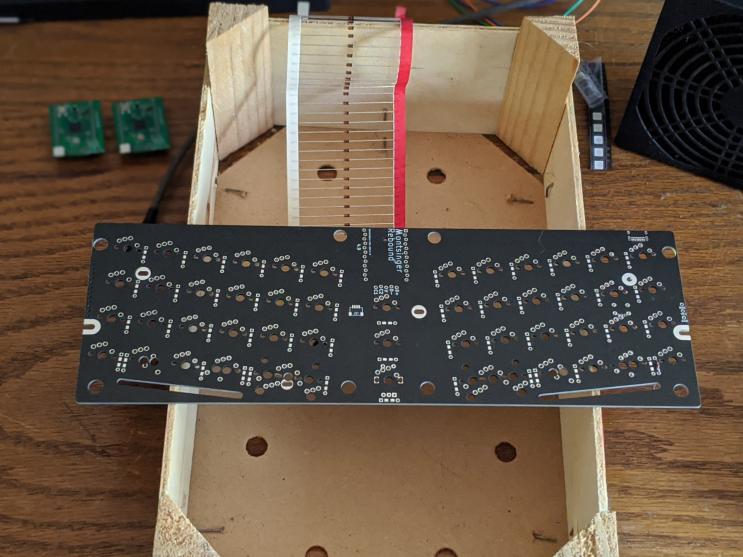 Prop the PCB up on something so that the legs can hang down freely. If you know your way arouund SMD diodes, they are supported by Rebound 4.7 and up. 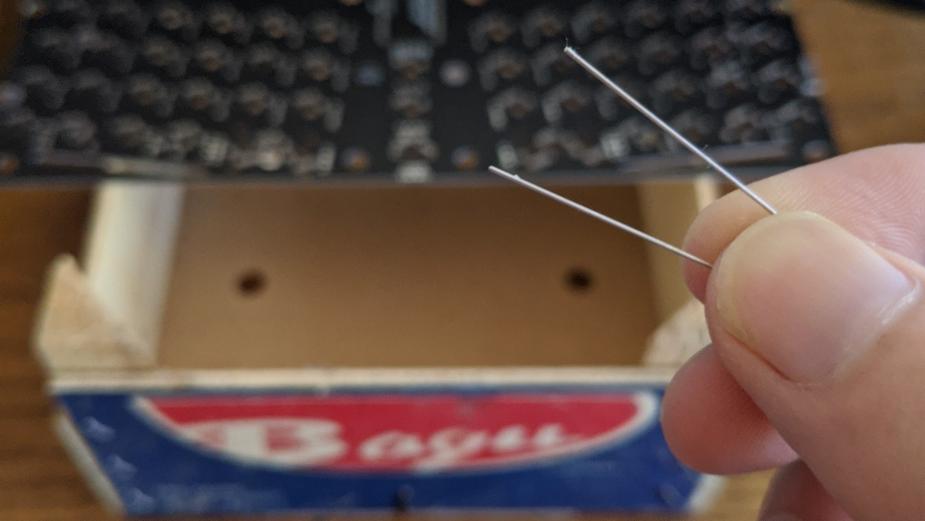 Do a bend. 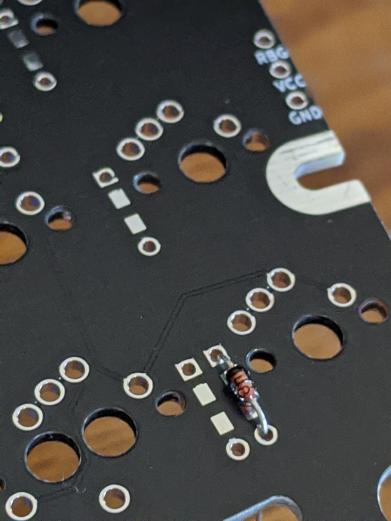 The black line on the diode faces north toward the square pad. 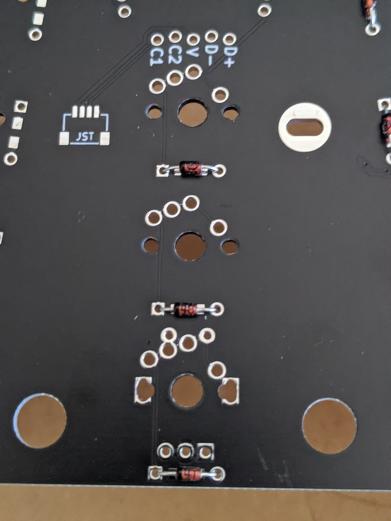 Note these three west-facing diodes in the middle. 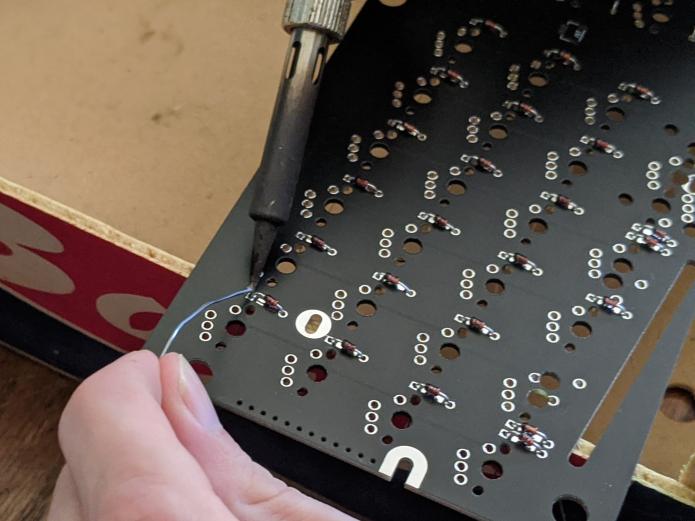 Solder the diodes. Since we still haven't flipped the board over, I'm applying solder to the diode holes and legs on the same side as the diode itself.  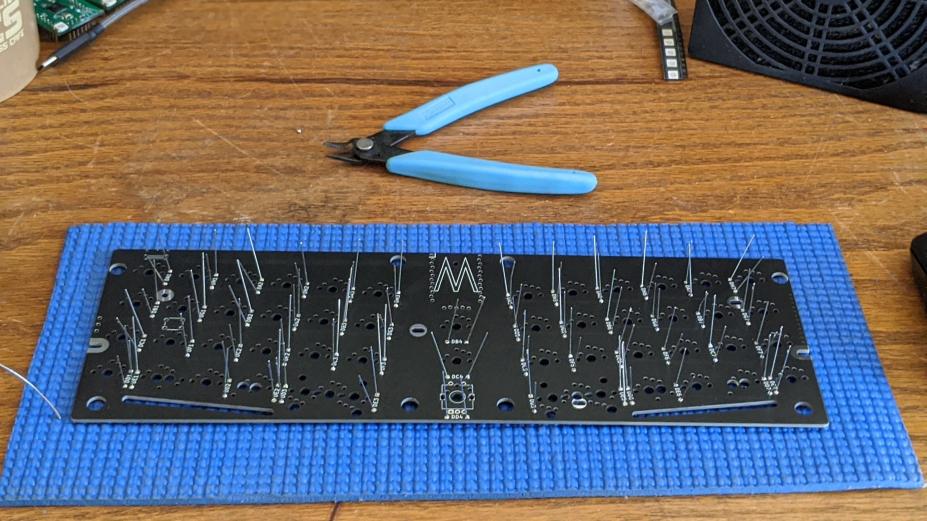 Flip the PCB over. 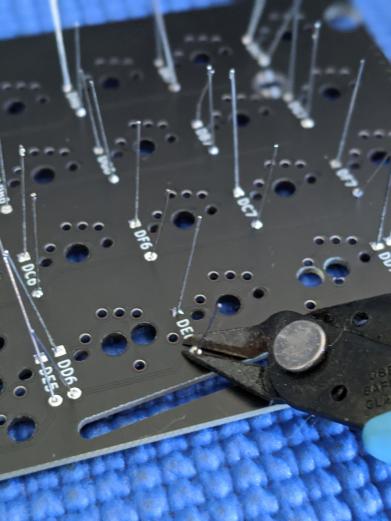 Let's trim the legs flush. Hold onto them when you do or they'll go flying. 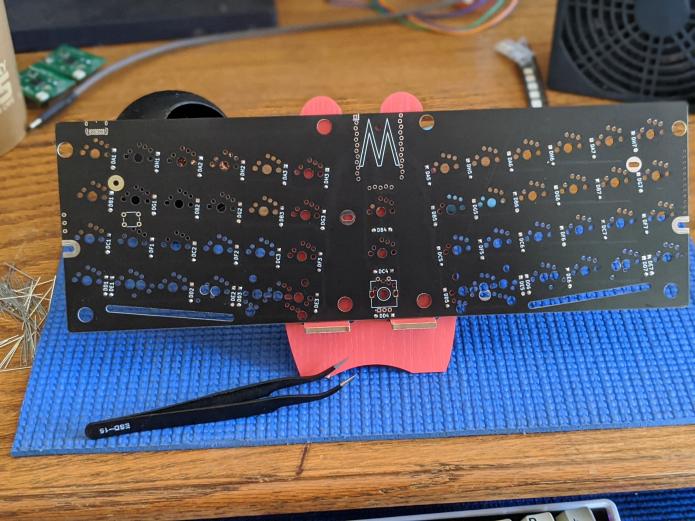 . . . Return to the main guide |